Thursday, March 31, 2011

Handpieced Doll Quilt

Many years ago, I took a handpiecing class from the gracious Betty Anderson, owner of the now shuttered Quilting B in Clackamas, Oregon, where I first learned to quilt! In this class, we worked on a small ninepatch doll quilt pattern from the book Celebrate! with Little Quilts (That Patchwork Place, 1995) by Alice Berg, Mary Ellen Von Holt, and Sylvia Johnson.

I loved having the handwork to take with me, but like many of my UFO projects, this one was put aside. As part of my new quilting goals, I took this with me on spring break vacation last week where I laid out the blocks, book, and remaining pieces to finish the last two blocks.


I worked on it all week and accomplished my goal of getting the quilt top completely pieced. It measures approximately 16" x 19". Tea-dyeing the top is a way to make new fabrics have an instant aged look, but I think I will keep this one the way it is. I will handquilt it with a simple design and add a medium or dark blue binding.


Handpiecing is a great way to get blocks pieced when you are away from your sewing machine. The secret is to have some piecework ready to go so you can work on them anywhere. Although I don't plan to tackle another handpiecing project soon, I do enjoy some relaxing handwork, which is typically accomplished for me when attaching a binding to a quilt.

Copyright ©2011, Sharon Baggs

Friday, March 25, 2011

New Quilting Goals!

I started this blog a few years ago to help give more information to my machine quilting students. Often there wasn't enough class time to cover everything related to quilting on a domestic machine--needles, thread, batting, fabric choices, quilt care, design, etc.--so I tried to incorporate those details into my posts and much of the basic information is contained within the archives of this blog.

This past year, I decided to step away from a regular teaching schedule. Now that my time is not centered around prepping for class instruction, I've focused on some new goals.

My primary goal is to tackle the box of unfinished projects I have. Recently, I took a few days to go through all my projects stored in various boxes and bags. I made a list of each quilt top or random blocks and wrote down what is needed to complete each.


My passion continues to see finished quilts! To piece a quilt is one part of the process but sometimes we get stuck going beyond that. I'll continue to work with friends and clients to complete part of the process, be it piecing, quilting, or binding, I love to share the process we go through to make design decisions.

Finally, I enjoy general sewing and ocassionally find myself working on non-quilted projects. I loved making the messenger bag and tuffet for Christmas gifts, and working on costumes for Annie and Romeo & Juliet. I've learned that quilting has made me an even better seamstress than I was before.

Now is the time to refocus this blog to show a journal of  what I'm doing in my week-to-week adventures in craft. It should be more fun and a little less academic. I'm still the domestic quilter but with a bit more going on...

 Copyright ©2011, Sharon Baggs

Saturday, March 19, 2011

Happy National Quilting Day!

6" feather design on cotton sateen; quilted with YLI silk thread #100 (color 201), trapuntoed with Quilter's Dream Poly--Deluxe (weighty loft); back batting: Hobbs Heirloom 80/20.

Copyright ©2011, Sharon Baggs

Thursday, March 17, 2011

Final notes on Annie...Juliet

It's been a joy to work on costumes for both Annie and Romeo & Juliet. Although I'm a quilter and this blog is dedicated to those projects, I enjoyed sewing and altering more than I thought I would. Here's a few closing photos of the past weekend. Megan B., pictured here with Hannah, was the Star-To-Be in NYC. Her beautiful blue dress was made by my longtime friend, Lori W.


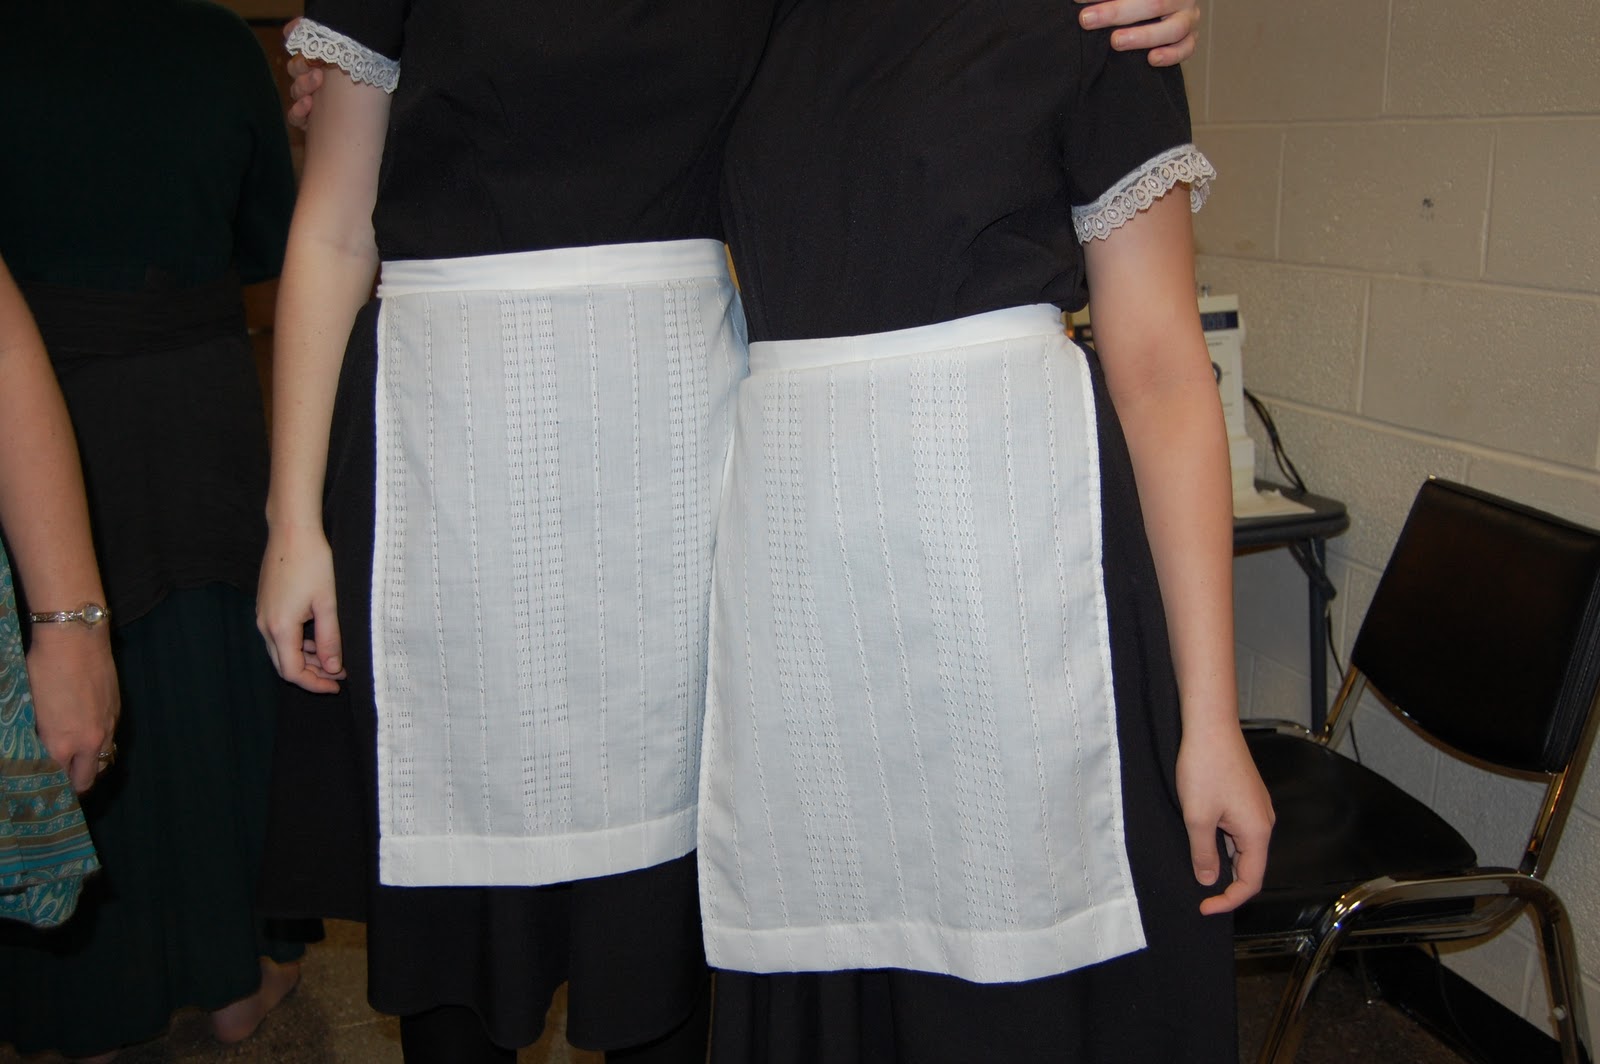
Megan C. was superior as Juliet in Reynolds High School's presentation of Romeo & Juliet. She twisted her ankle during dress rehearsal week and needed her dress to be a bit shorter than the other frocks the actresses were wearing. It helped to not trip her up as she had to scale all the high risers onstage.


Zach Speer as Juliet's father gave an emotive performance in his acting debut. Maybe it's just the red hair that gave credence to his fiery performance, but it was the needed spark before intermission.


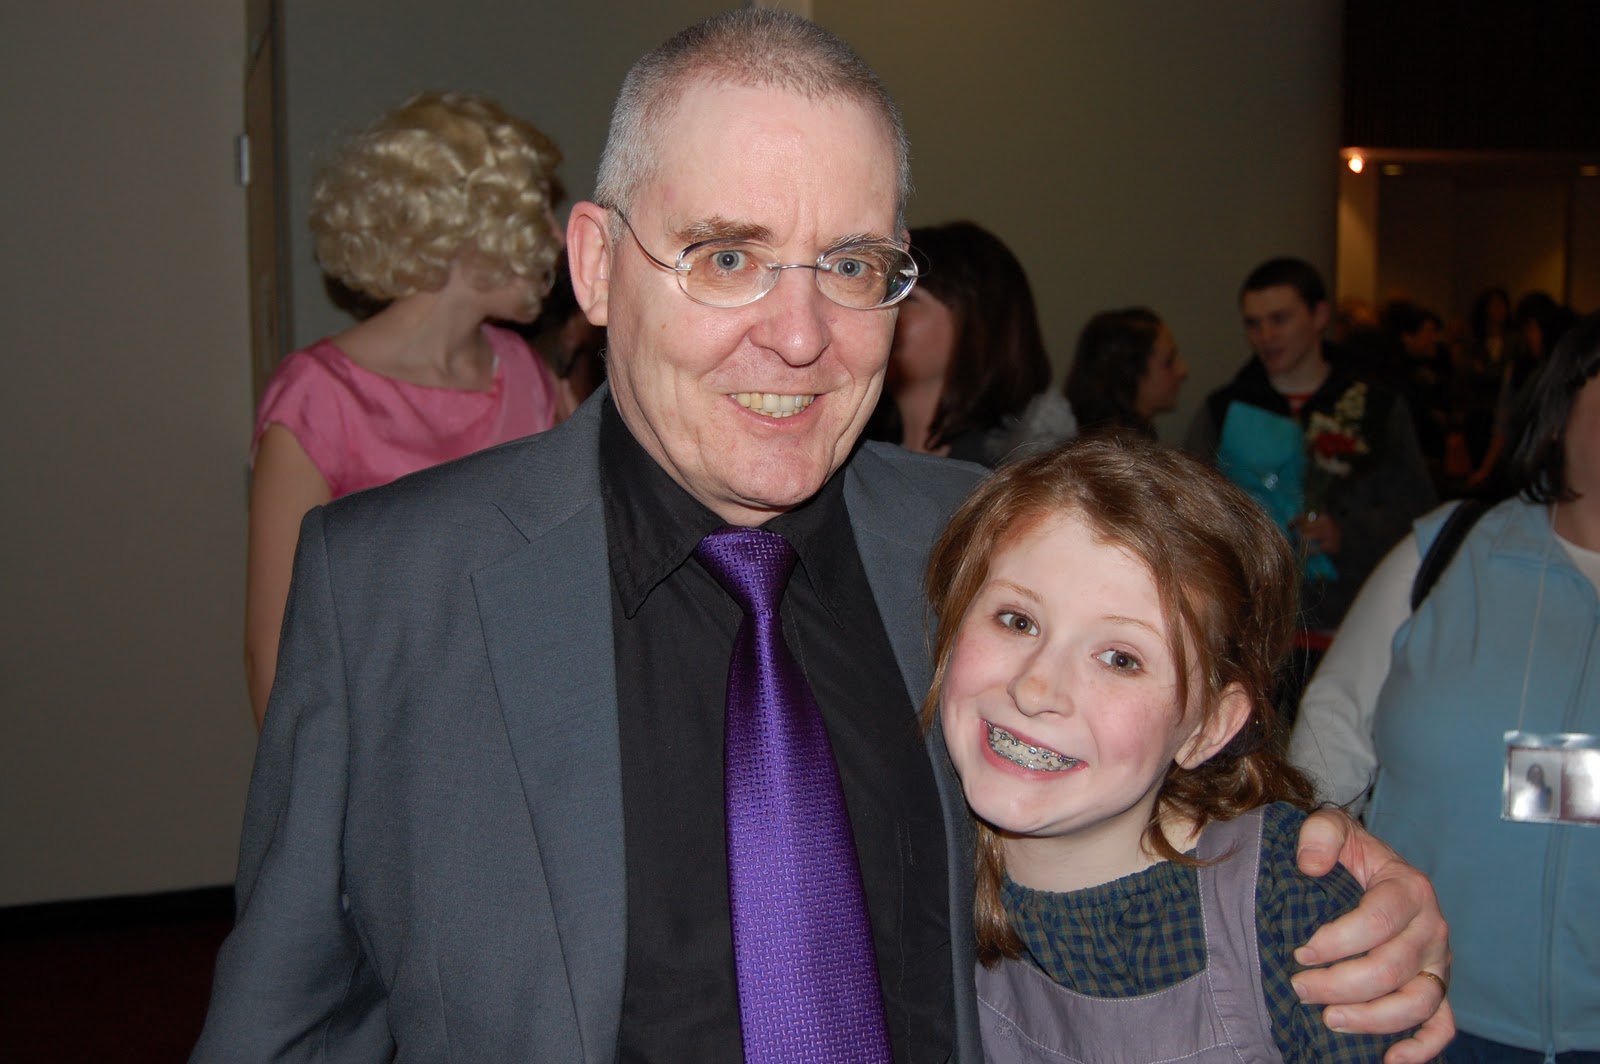
Daddy Warbaggs was at Opening Night of Annie, cheering on his favorite orphan!


All my girls were together for the Saturday evening performance of Annie. They described the scenes in the orphanage as "just like home!"


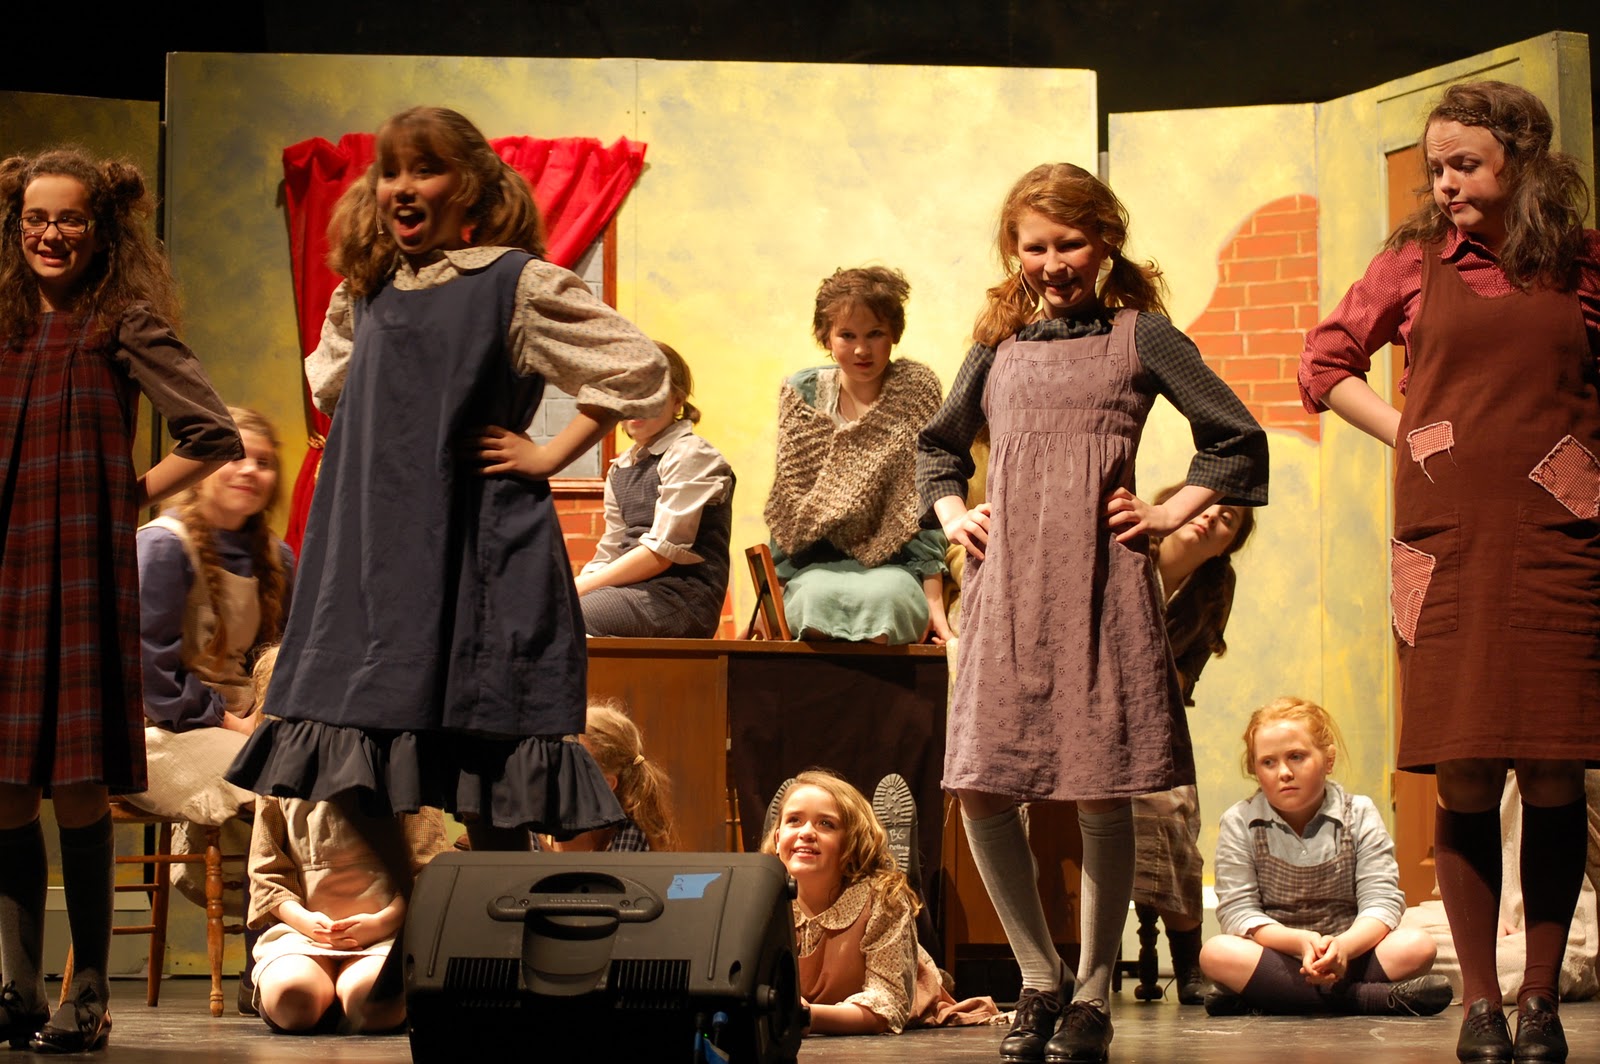
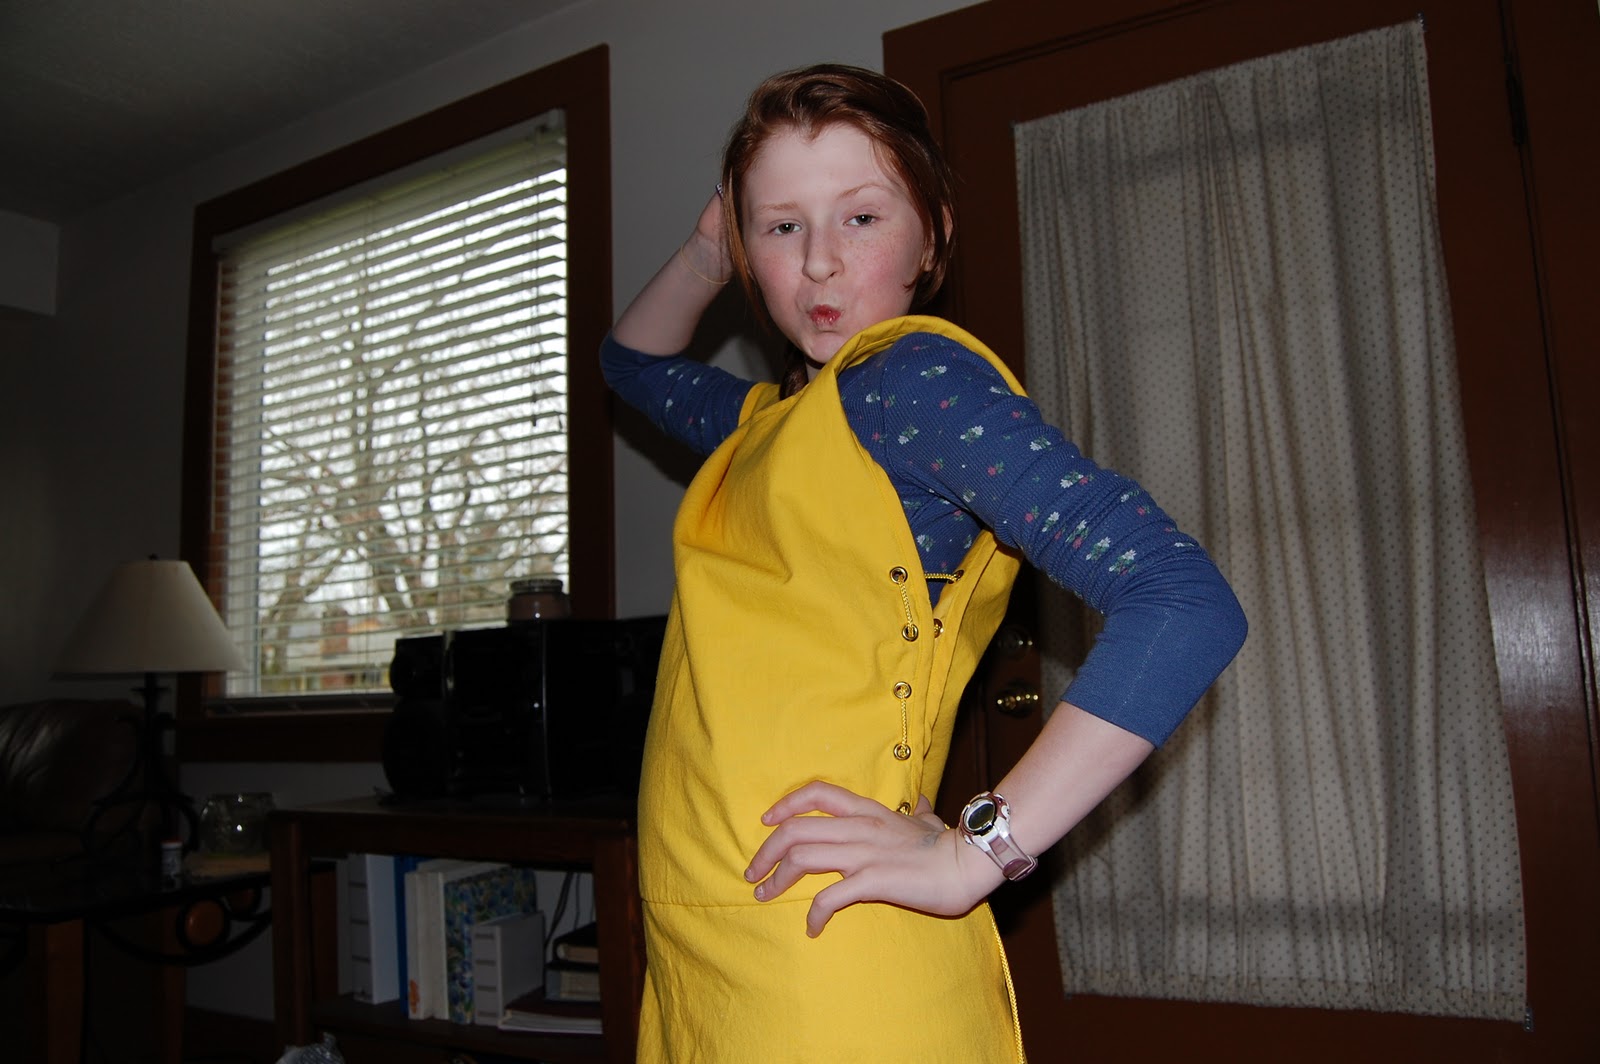
Hannah loved being the orphan, July, whose character description is the "quietest" orphan, but we all know better. She was sassy and spunky, a real fun role for her. She tap danced with these four girls (Ellie C., Hannah W., Hannah B., and Anne J.) who received the "rhythm" award at the strike party for their lively rendition of Never Fully Dressed Without a Smile, supported by a cast of 14 additional orphans.

My dad's vintage radio, a 1931 cathedral, was a classic prop in Miss Hannigan's office. I loved the scene where she is sitting with her arm over it while she listens to "hope for women over 35 to find love". Cassie is barely 16 but she played a mature, Carol Burnett version of Miss Hannigan that blew the audience away.

Here's a better look--not covered up by the chair and photo in the foreground--where the orphans are listening to Annie on the radio in Miss Hannigan's office at the orphanage. Thanks Emily W. for taking such good care of it!


Hannah and Alli O. became good pals during the rehearsals and run of the show. Their older siblings went to high school together so they knew about each other years before they had this opportunity to be in a play together.  It was a great experience and memory for both of them!


Copyright ©2011,Sharon Baggs

Wednesday, March 16, 2011

Show aprons


Annie Jr. is over but here are the aprons I made for the production, which was an amazing show with lots of talented and well-dressed kids, ages 8-18. This is the french maid's apron, worn on stage by Laura S. and Megan W. (also below). It's made of linen fabric, which I cut to insert the strip of lace, also sewn along the edge.


Next are the servant aprons made of rectangles of lacy fabric that was lined, worn over black dresses we pulled from the costumes at the CYT warehouse. I made five of these aprons.


This final white apron was for the baker, Mrs. Pugh (Amelia), shown here with the amazing Miss Hannah. I made the basic skirt, cut from an edged lace fabric, then added a pointed bib, to give it a 1930's style.


I made two hot dog seller aprons, made from a slightly stretchy canvas fabric. I added a large pocket on front and sewed a vertical line so the ketchup and mustard bottles could be held steady.


All together, I made 11 aprons for this show, including Annie's pinafore. During the last show, there wasn't time to get her red sweater on over her brown dress and blue pinafore, so she came on stage just like this. I loved seeing it without the cover-up. Allisonn was the perfect Annie and she did a wonderful job acting and singing while interacting with Sandy (Tucker) whom she didn't get a lot of rehearsal time with before the show. Well done!


Copyright ©2011, Sharon Baggs

Monday, March 7, 2011

Dress completed

The Juliet costume is complete! I needed to take about 7" off the hem, so I cut 5.5 inches off and pressed a 1.5 inch hem of both the skirt fabric and inner lining, then basted those two folded edges together. The basting will be easy to remove if I need to alter it later.


The dress looks great on our resident model! Now I'm focusing today on designing and sewing two French maid aprons in the style of  the 1930's for our first dress rehearsal of Annie tonight. Pictures to follow on that project.


Copyright ©2011, Sharon Baggs

Sunday, March 6, 2011

Grommets!

Just finishing up the Juliet costume with some grommets/eyelets along the bodice of the gown. These are fairly easy to put on, but I did learn a few tips along the way. First of all, I used this small paper punch to cut through the three layers of fabric (yellow cotton, interfacing and lining). I trimmed the hole to make it a bit bigger but not as big as the manufacturer's directions. I followed that on my trial run and the fabric pulled out from under the grommet edges. Best to make the hole just big enough for the long grommet piece to fit through.


Then I realized the hole punch had a sharp edge near the inside of the punch and could create some fray in along the finished fabric edge when I punched the hole, so I padded it with this piece of muslin to prevent that from happening.


I used a blue washable marker to mark the grommet placement, according to the pattern markings. The kit has two small tools to help keep the two grommet pieces lined up so they can be hammered together. When hammering, a few firm blows does the trick. Beyond that, the grommet can get flattened and have some sharp snags in the opening.


Altogether I used 24 grommets, six on each side front and back. A bit time consuming but easy to do. I'm sure I'll use this technique in the future with art quilts; lots of possibilities! The 1/8" yellow cord laced through the grommets completes this part of the gown.


Viola!

Copyright ©2011, Sharon Baggs

Wednesday, March 2, 2011

Juliet's dress

Today I'm working on making a costume for our family friend, Megan, who is playing Juliet in Romeo & Juliet at her high school. This bright yellow fabric is somewhat sheer, so I'm going to use lining fabric in the skirt. The bodice will also be lined and have a layer of muslin which acts as an interfacing to stiffen up the lightweight material.


The pattern is Simjplicity 2573, view B, which is the blue dress pictured at the right top. Just making the outer dress from the yellow. She will wear a long-sleeved shirt underneath and the director will add the trim and belt to the dress. I do have to put in grommets & cording.
Copyright ©2011, Sharon Baggs