Wednesday, May 7, 2014

Christmas Color Block Quilt


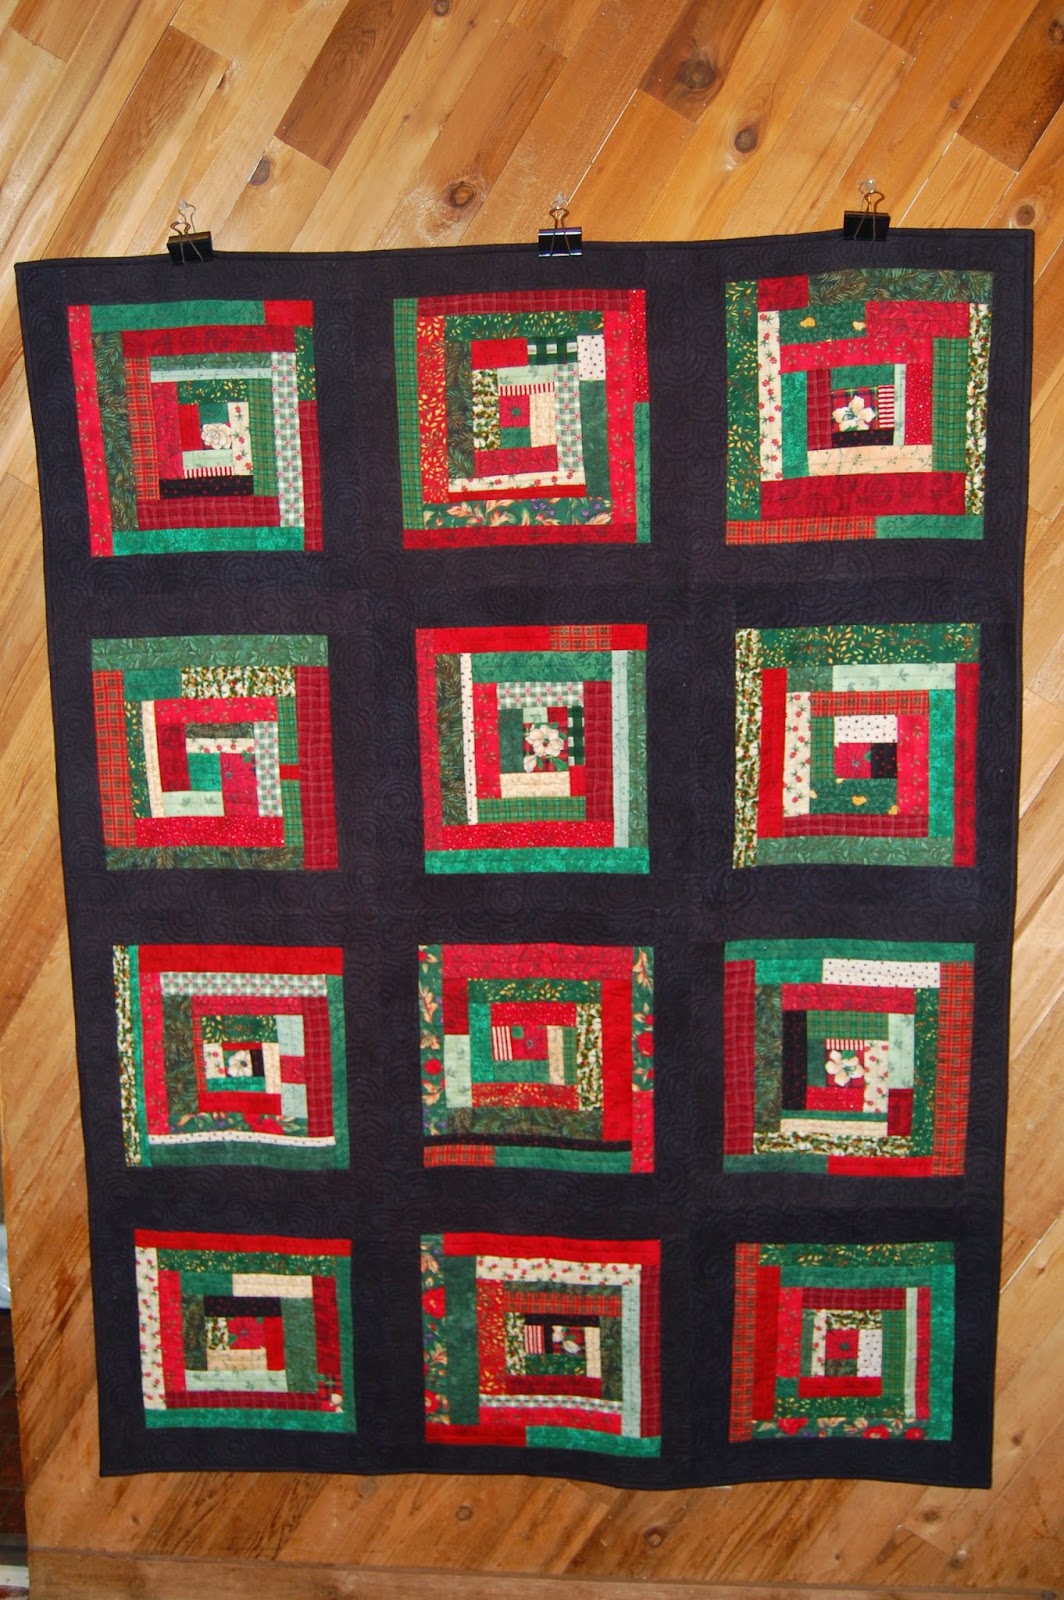
So excited to get this quilt completed. To celebrate, I entered it in the Sisters Quilt Show, which will be held on July 12. If you go, look for this among the many entries!


The quilt is made entirely of Christmas flannel prints. I had cut large panels of fabric for another quilt and decided to slice into those to make this fun log cabin quilt. I used Quilter's Dream polyester black batting. Polyester traps heat so this quilt is a warmer. Polyester batting is also a good choice if you plan to hang a quilt; it doesn't stretch like cotton or wool batting. Polyester is often added to cotton and wool batting just to give those natural fibers some added stability.


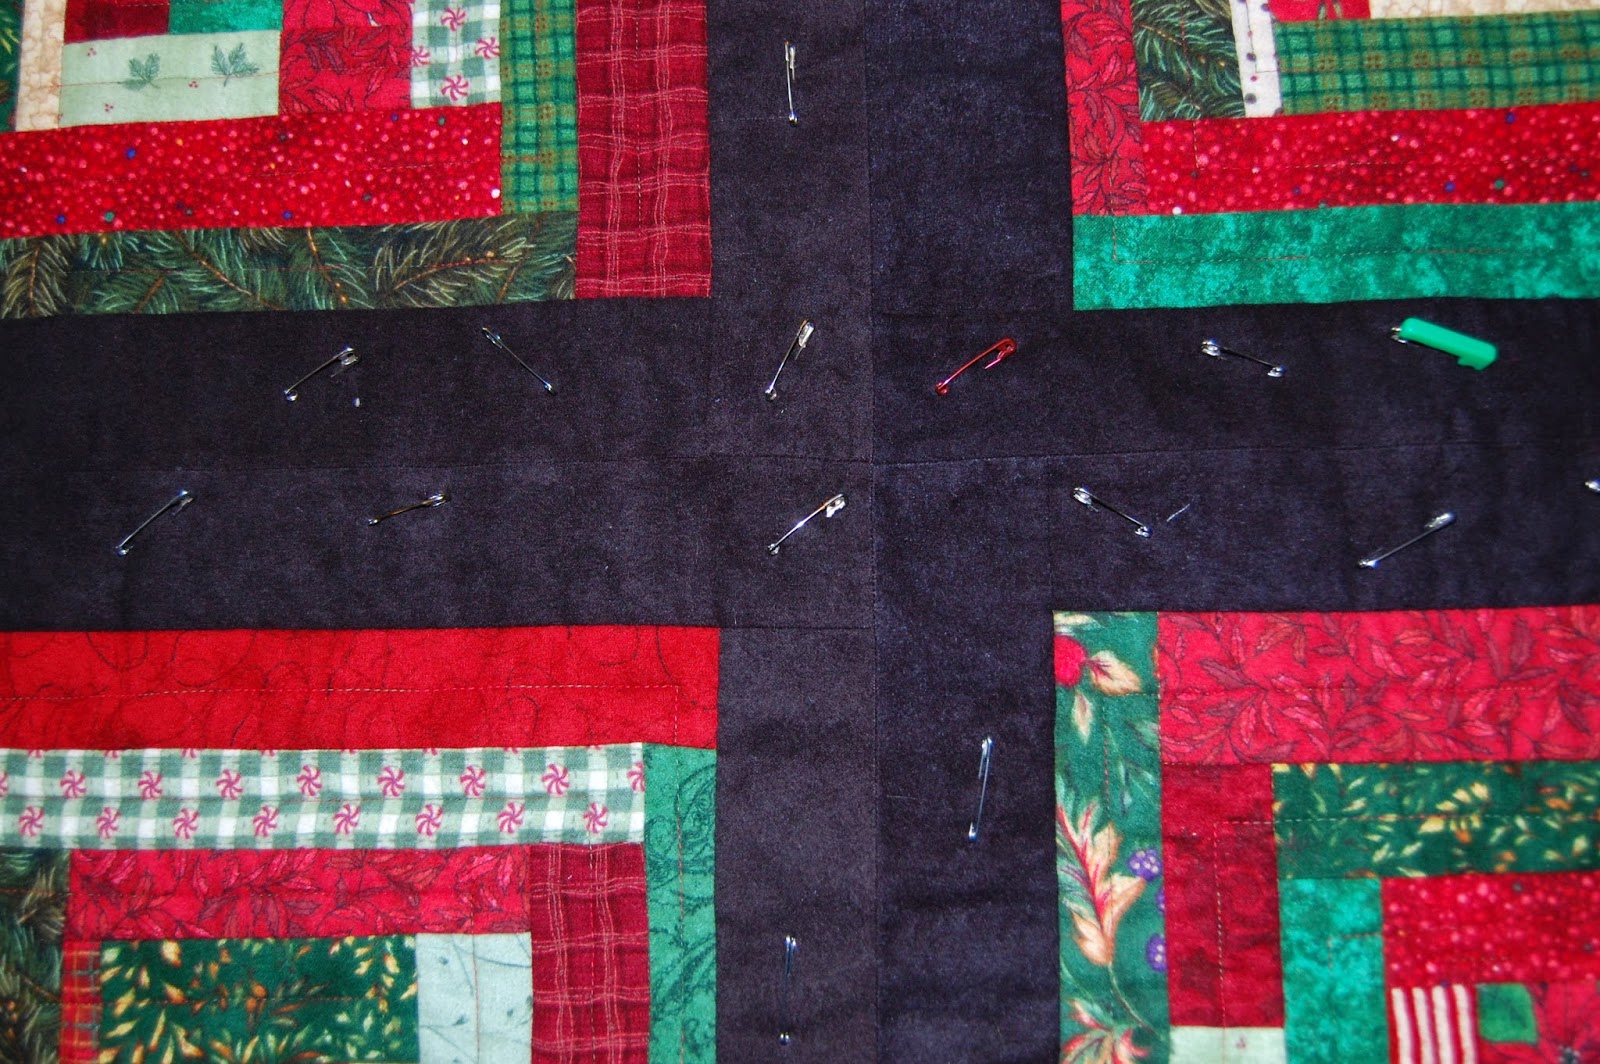
Each block was pieced improvisational, meaning I did not follow a pattern or give much forethought to color placement in construction. I started with a center poinsettia and began to add "logs" to the cabin, making decisions as I went along. The blocks varied in size, but were roughly 12" square. I added wide black strips to each block and squared the final block to 16". When sewn together, the black strips created the solid background that the blocks "float" on.


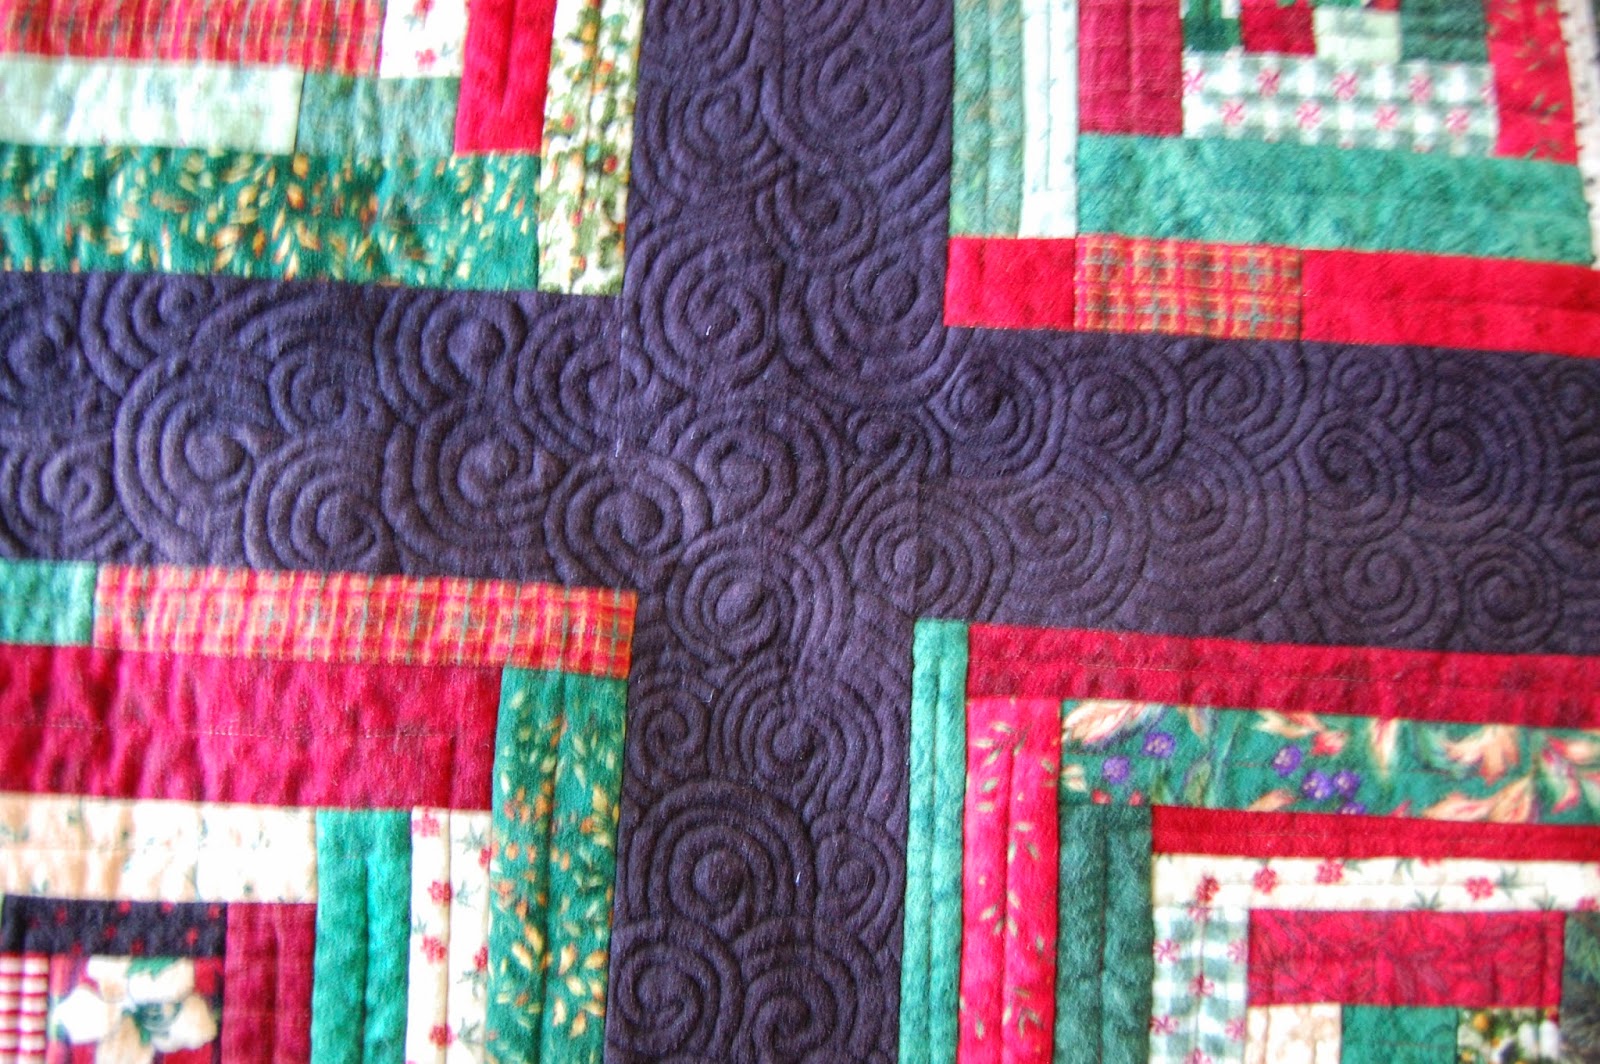
For the quilting, I used Superior Thread's Masterpiece 50/3 cotton thread for the top and bottom threads for stitching-in-the-ditch between the logs. For surface quilting, I used the King Tut 40/3 cotton for the top thread and kept the Masterpiece 50/3 (Color #135--DaVinci) in the bobbin. I used this same green thread in the bobbin for all the quilting, even when I switched the top thread. I also used a 90/14 topstitch needle.


Stitching-in-the-ditch with a walking foot (feed dogs are up) and Masterpiece thread in the top and bobbin:


For surface quilting on top of the blocks, I switched the top thread to King Tut's #1002 Holly & Ivy.


For free motion quilting the background swirl design, I switched the top thread to King Tut's #977 Ebony and used a free motion foot (Bernina's open toe foot #24) and lowered the feed dogs to allow full range of motion to quilt in any direction. See previous post for how I quilt in the ditch and along the edge of the quilt.


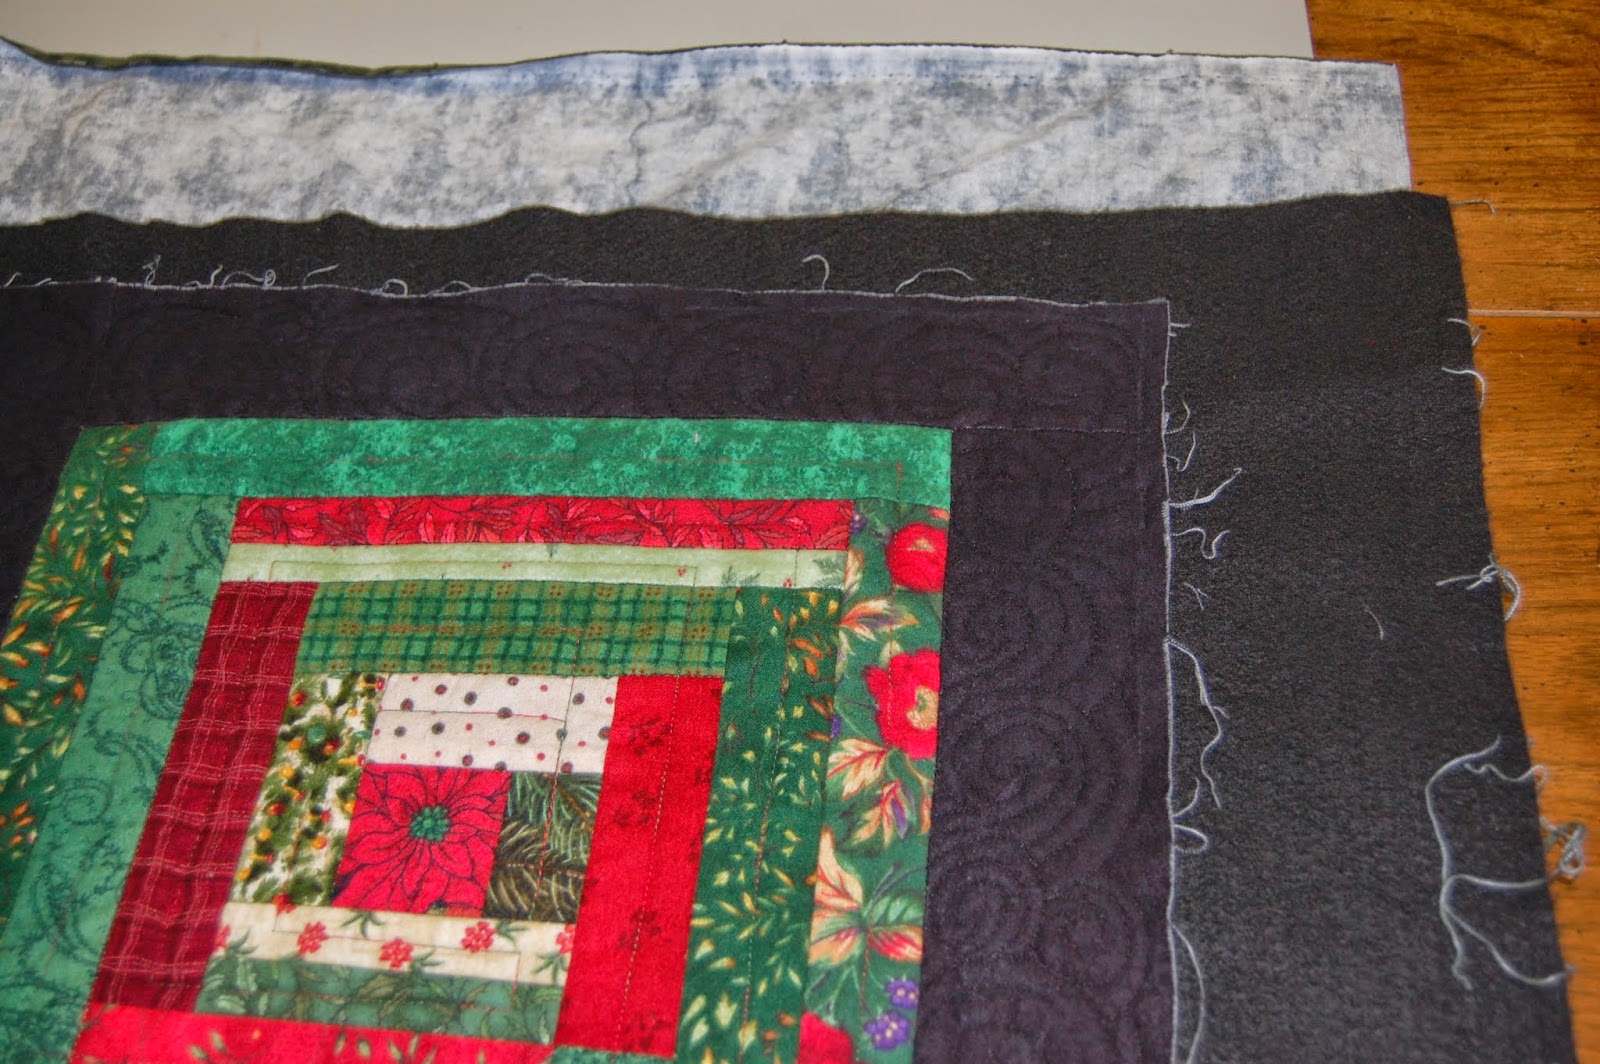
The backing was pieced with several panels, bordered with a forest green fabric. 


Another view of the back after quilting and binding the quilt:


And the front:


Copyright ©2014,Sharon Baggs

Friday, May 2, 2014

Quilting to the Edge of a Quilt

How close to the edge of a quilt should your quilting stitches get?  My gauge is no closer than 1/4". You need a little bit of space to trim, if necessary, when squaring up the quilt after quilting is completed and before putting the binding on.


Getting too close to the edge with your quilting stitches will cause you to cut through the stitching when you trim your quilt. If this does happen, and it did to me, here's what you can do to secure those loose ends.


There was a 10" area on one side of the quilt where I had nicked the quilting stitches. I noticed this when I was working on the binding. I always machine sew the open edge of the binding to the quilt, then hand sew the folded edge to the back of the quilt. So, before hand sewing the binding in place, I went back over this area with my walking foot, using a short stitch length and back-stitching where the thread ends were. This really helped "lock down" those thread ends and gave added stability to the one seam where the binding is stitched to the quilt. Without this security, the thread ends would eventually pull up to the quilt surface and the quilt stitches would come undone.


If you take your quilt to a long arm quilter, ask how they quilt the edge of a quilt. Some begin their stitching off the quilt (on the batting/backing area) to check their tension, then move onto the border to begin quilting; likewise, when they finish a quilting line they stitch back off the edge. I've seen this several times when a client brings a quilt for binding. To avoid cutting through the stitches when you trim the quilt edges, you will want to pick some of those early stitches and get a length of thread tail that you can knot off and bury into the quilt batting.


I generally start my quilting inside the surface of the quilt, and use one of the "ditches" to begin my stitching so there are no starts/stops close to the edge. My threads are on the top of the quilt where I can see them. After I am done with a line of quilting, I thread both threads into a hand sewing needle, poke it through to the back of the quilt, knot the thread a couple of times close to the stitches, bury them into the batting and cut the thread ends.

Copyright ©2014, Sharon Baggs