This 18" round footstool is made of black, white, and yellow fabric. The pattern is The Tuffet, designed by Myra for PM Lane's Patterns. I took a class to put this together and it was great fun! I've been wanting to made this design for quite some time. In my next post, I'll share some photos of the other tuffets made by my classmates.
Some of the fabric is newly purchased but much of it came from my stash of black and white fabrics. My oldest daughter's room is decorated with black and white with yellow accents so this will look great in front of her black futon.
Our first class consisted of sewing fabric strips to eight panels. I think it would be fun to free motion quilt over these panels before putting the tuffet together, but I had to be realistic with this first time around and just focus on putting it together to get it done.
At the second class, we put the sewn top onto a 6" foam insert over an 18" round plywood base. Batting is added to the top to fill in all the soft spots and make a firm cushion.
Once the tuffet is covered, the center is secured with a fabric covered button. We used a 2-1/2" button made by Dritz but a large standard 2" button could also be used.
The bottom of the tuffet was covered with a black felt circle and stapled in place. Then the necessary hardware was added to the bottom of the plywood base over the felt, so the four feet could be added. These bun feet were purchased at The Home Depot. Interestingly, everyone in the class had a different set of feet for their tuffet.
I spray painted the feet with black matte paint. I set up a box in the garage and sprayed them in that. Light sanding between coats help achieve a better finish. I adhered non-skid 1" circles to the bottom of each foot.
The most challenging part was dealing with the winter temperatures so I ran a small heater/fan to dry the feet between coats and to ventilate the area. Next time around, I'll do this process on my back patio during the summer.
Copyright ©2011, Sharon Baggs
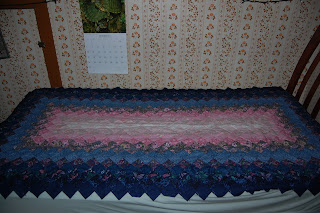
 For this quilt, the top quilting thread will have to blend in with the pinks and variety of blue fabric. I pulled some of my lighter shades of Superior's King Tut 40 wt. cotton thread to audition for the quilting.


