Thursday, January 29, 2015

Wool Brick Quilt


This is a beautiful wool quilt pieced by Denise. She used wool samples to create a variegated brick wall quilt.


The length of each row varied, so I thought it would be an artsy idea to incorporate some of the excess trim into the binding--a few strips of wool pieced to some of the gray flannel used for the backing. I gave it a go but the wool proved to be too thick to wrap around. I used the gray flannel exclusively and it was a good contrast and frame to the bright colors of the wool.


After stitching in the ditch, I quilted 1/4" on both sides of the seam line. I color matched the thread for each row so the thread would blend and not detract the eye from the overall color of the quilt.


The backing is a medium gray Shadowplay by Maywood Fabrics. By stitching-in-the-ditch, the backing looks like a gray brick wall.


Denise plans to give this quilt to family members living overseas. It will be a treasured heirloom!


Copyright ©2015, Sharon Baggs

Thursday, August 14, 2014

Row Quilting

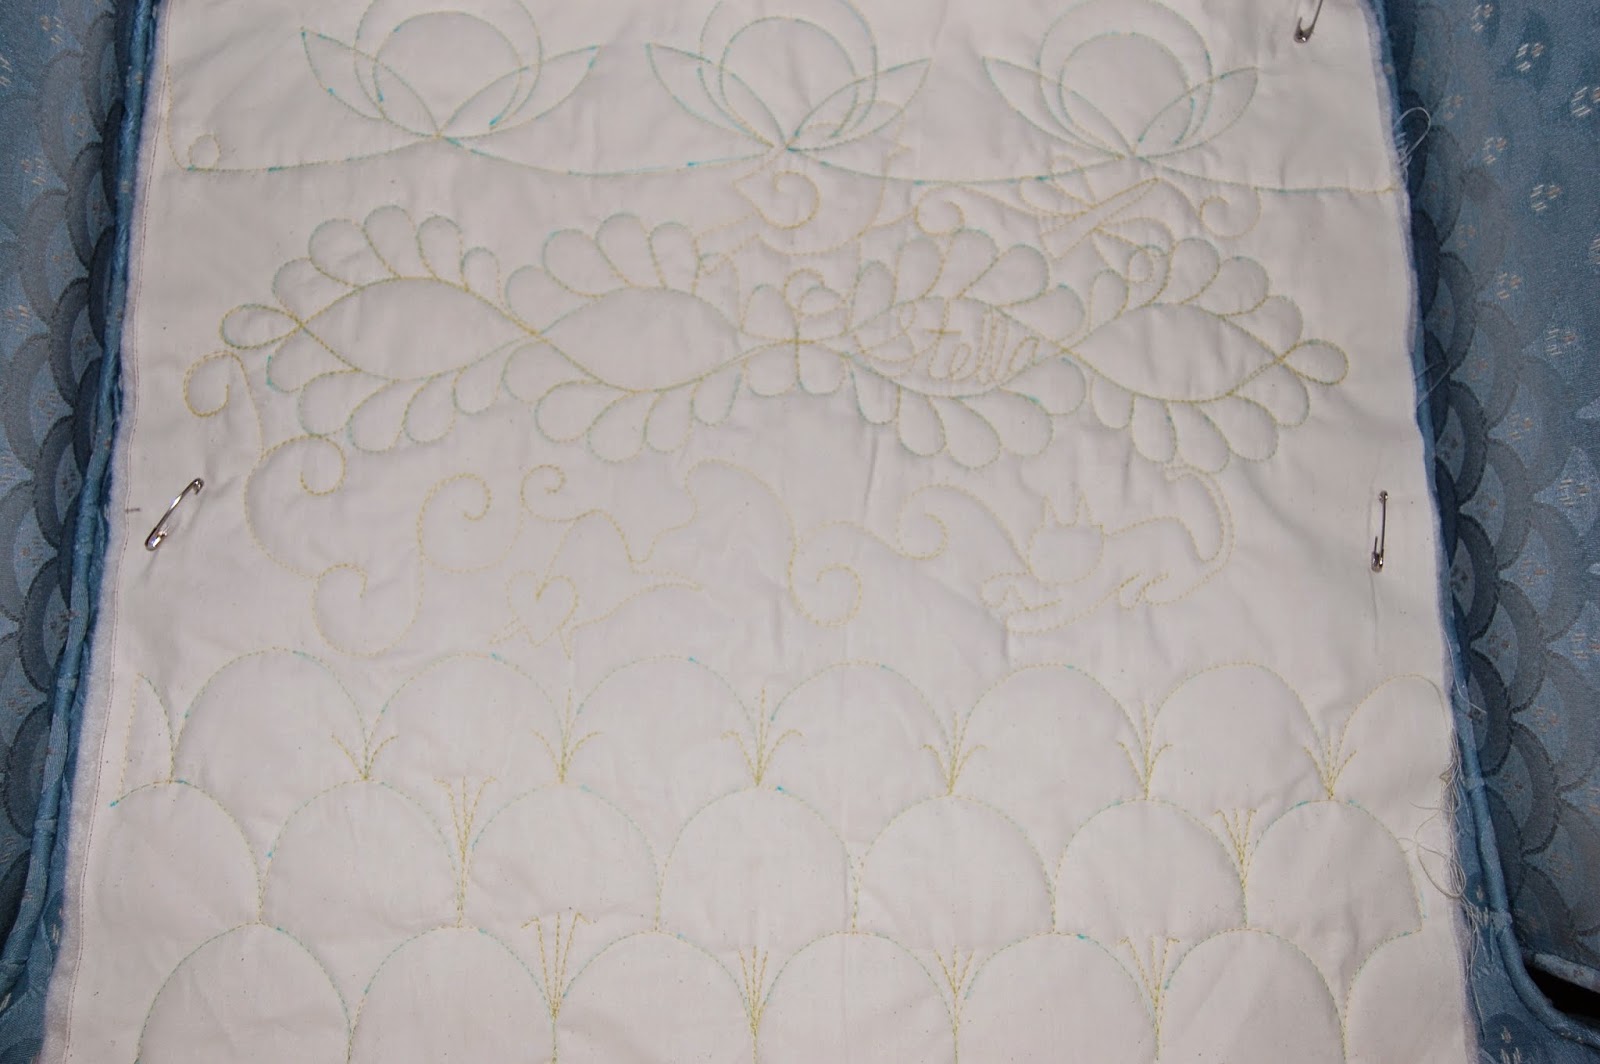
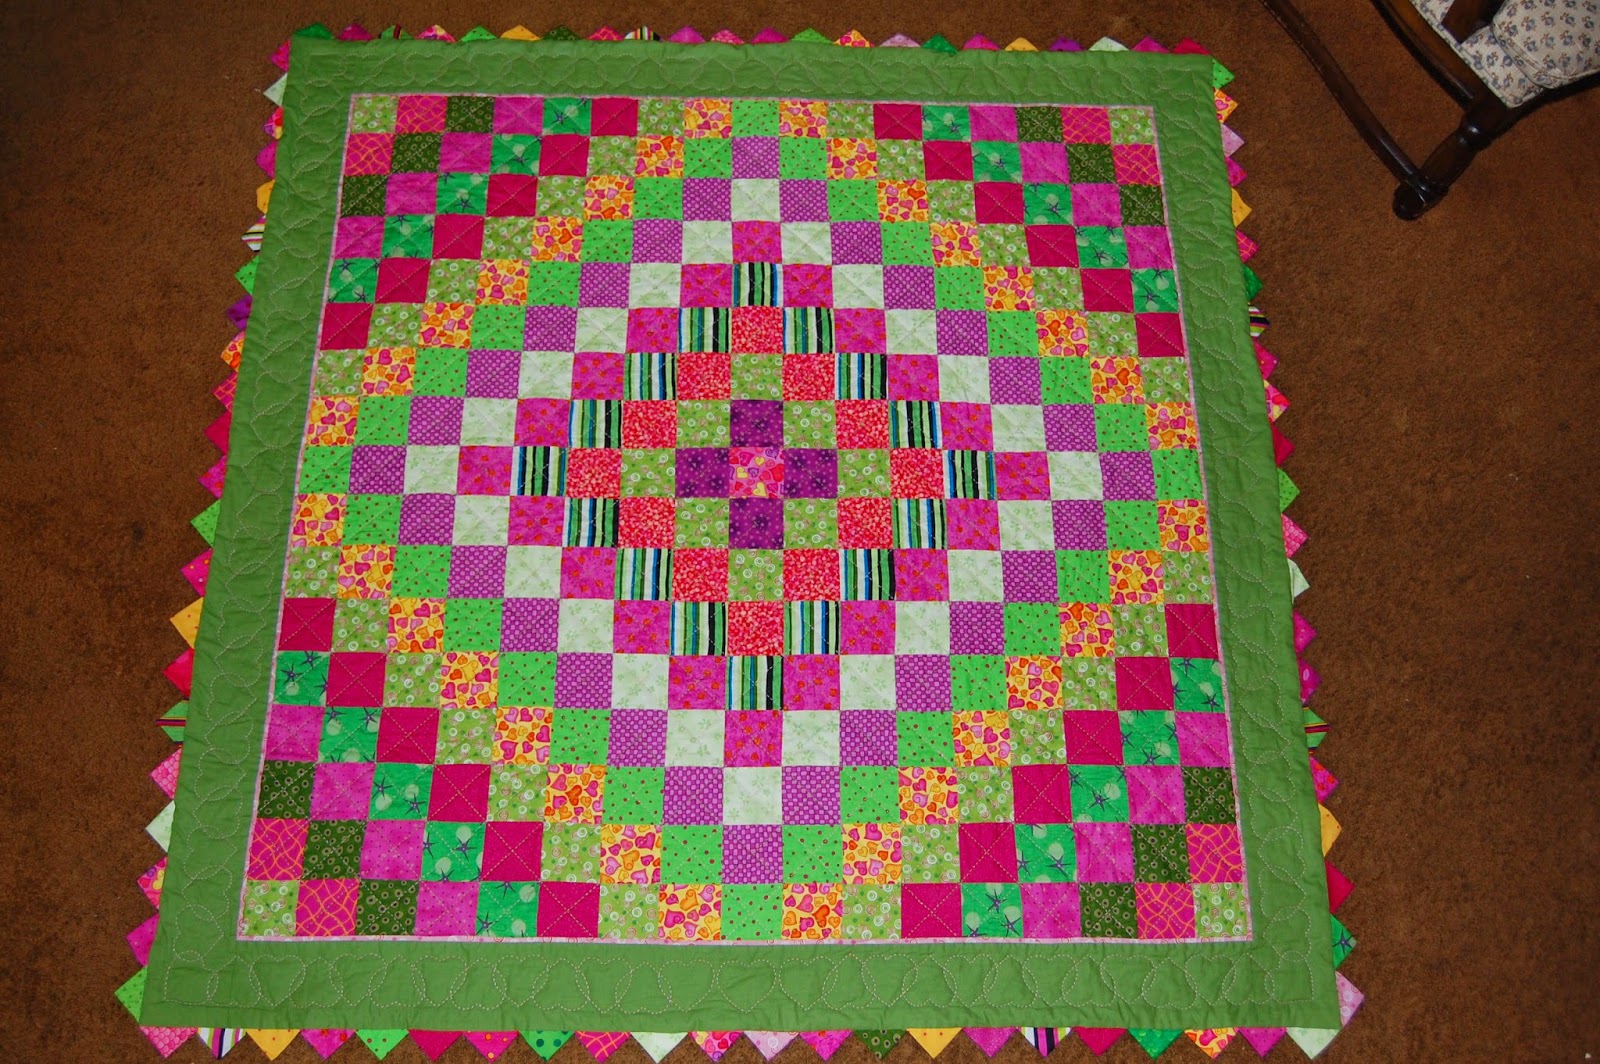
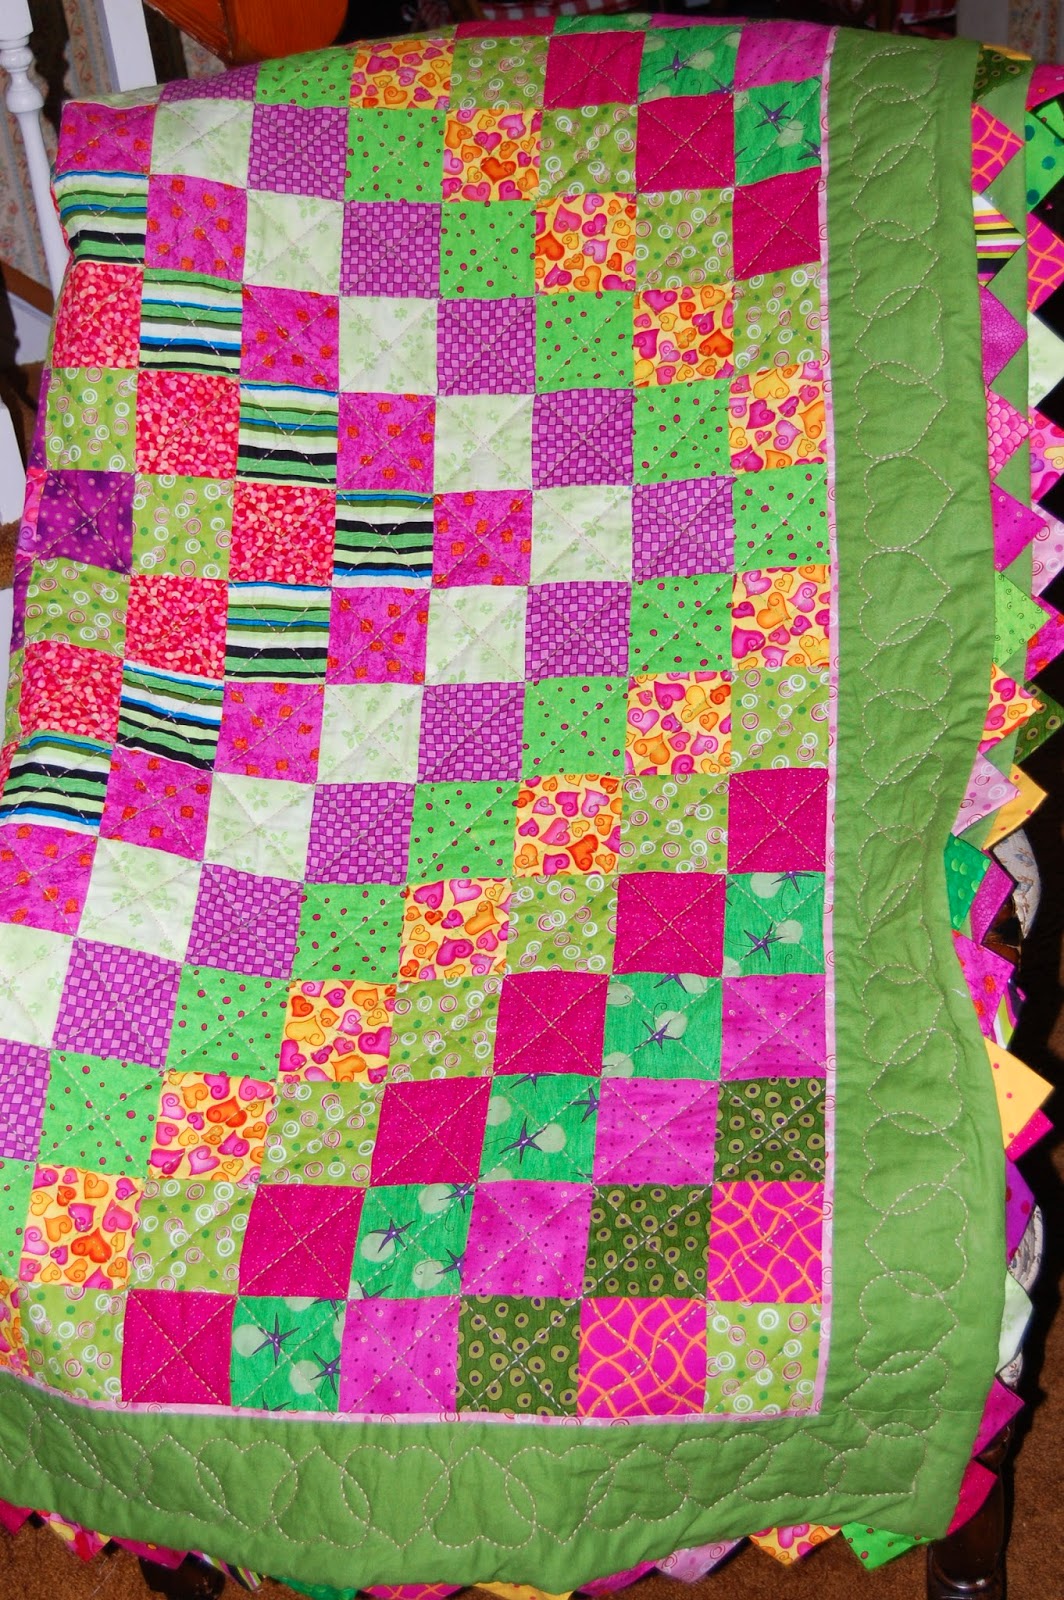
Just finished quilting this baby quilt that was pieced by my friend, Renee, for her new granddaughter, Stella.


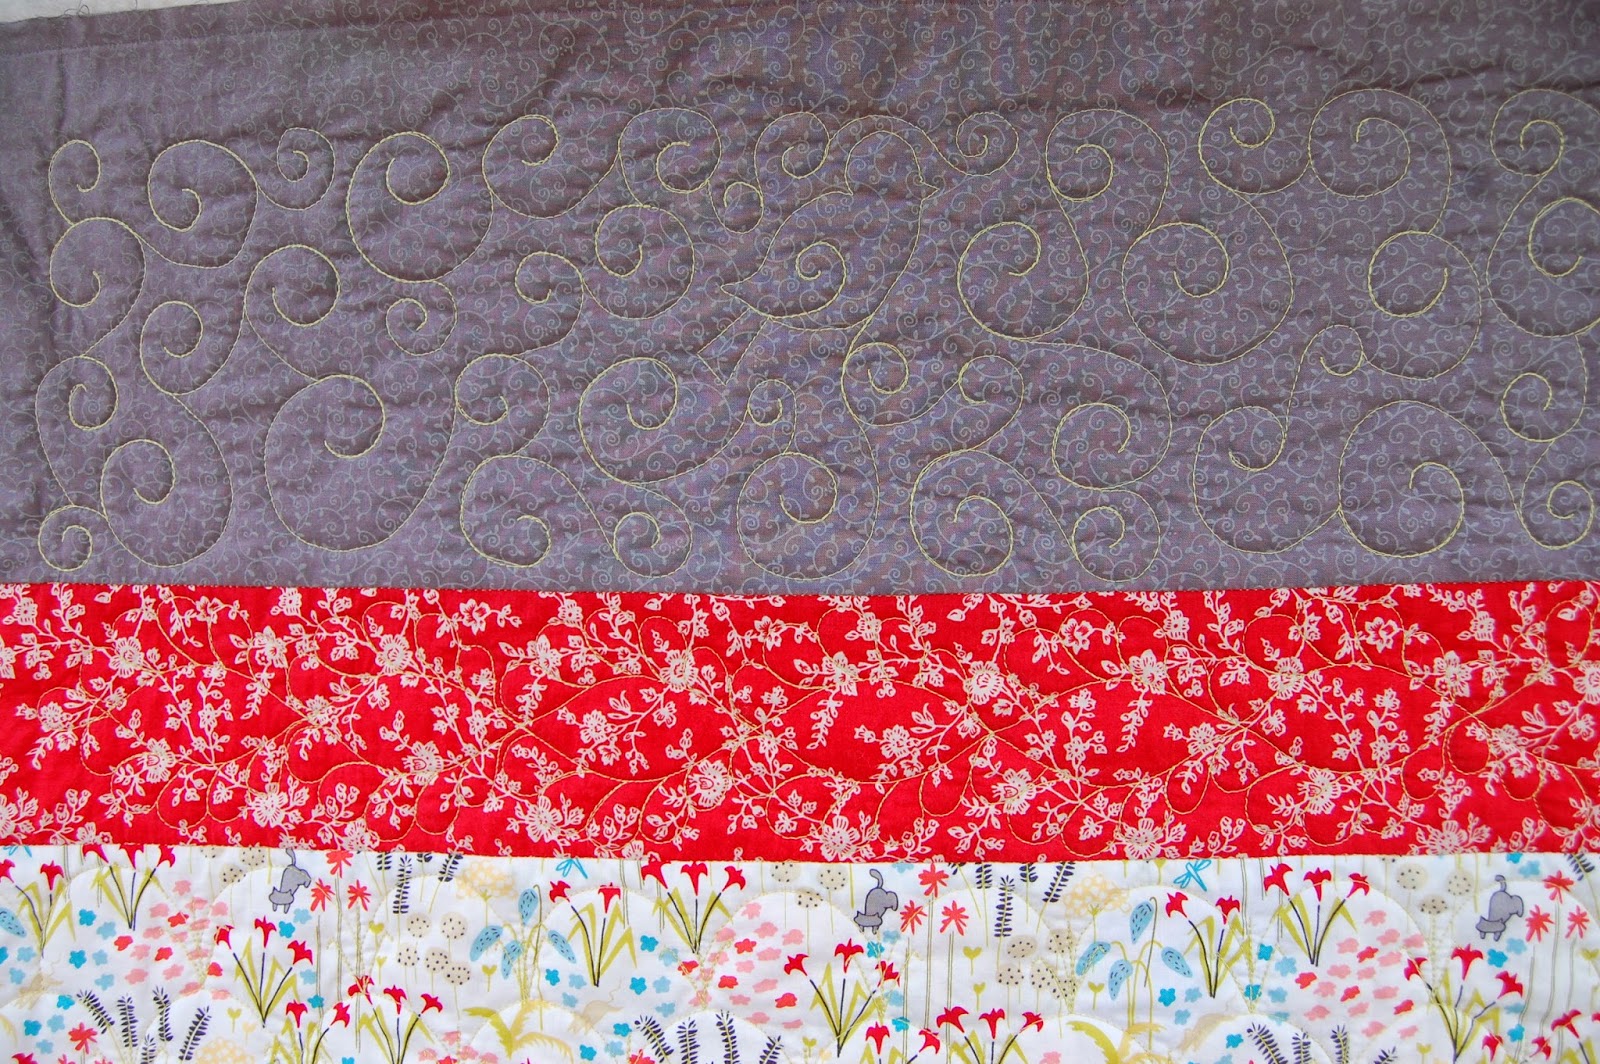
Row quilts, such as this one featuring 5 sewn strips, can be quilted with an overall design or treated individually. I chose to quilt the three fabrics with 3 different designs. I used a practice patch to audition potential designs.


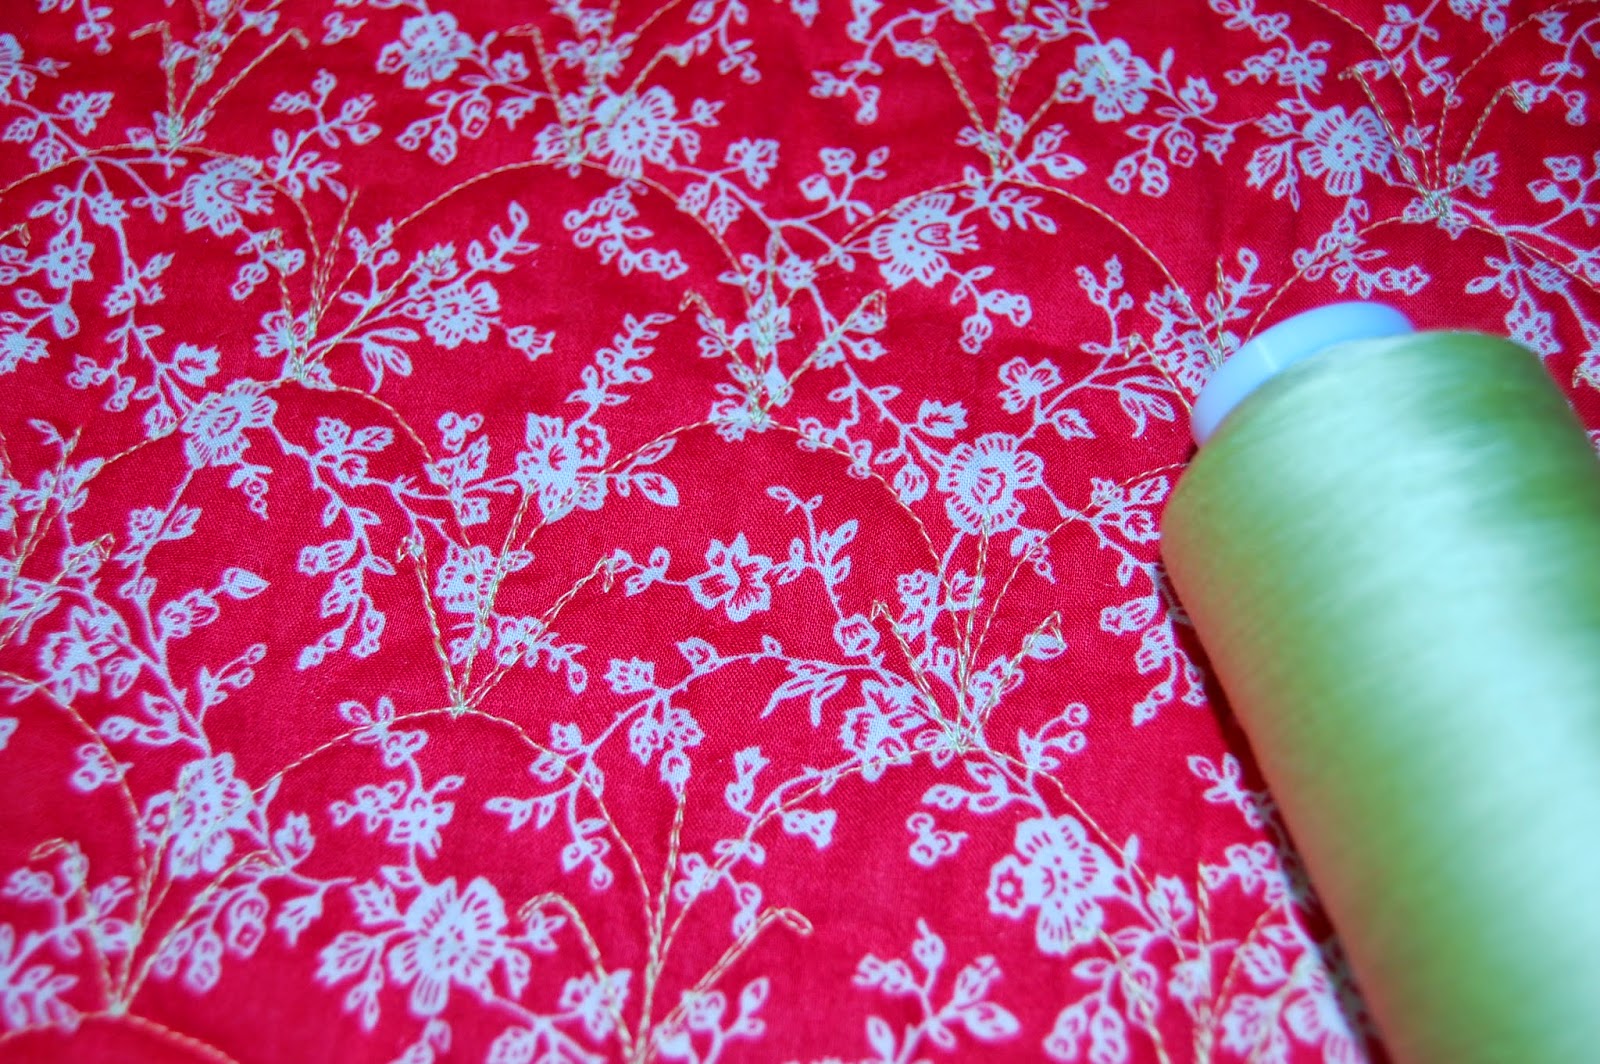
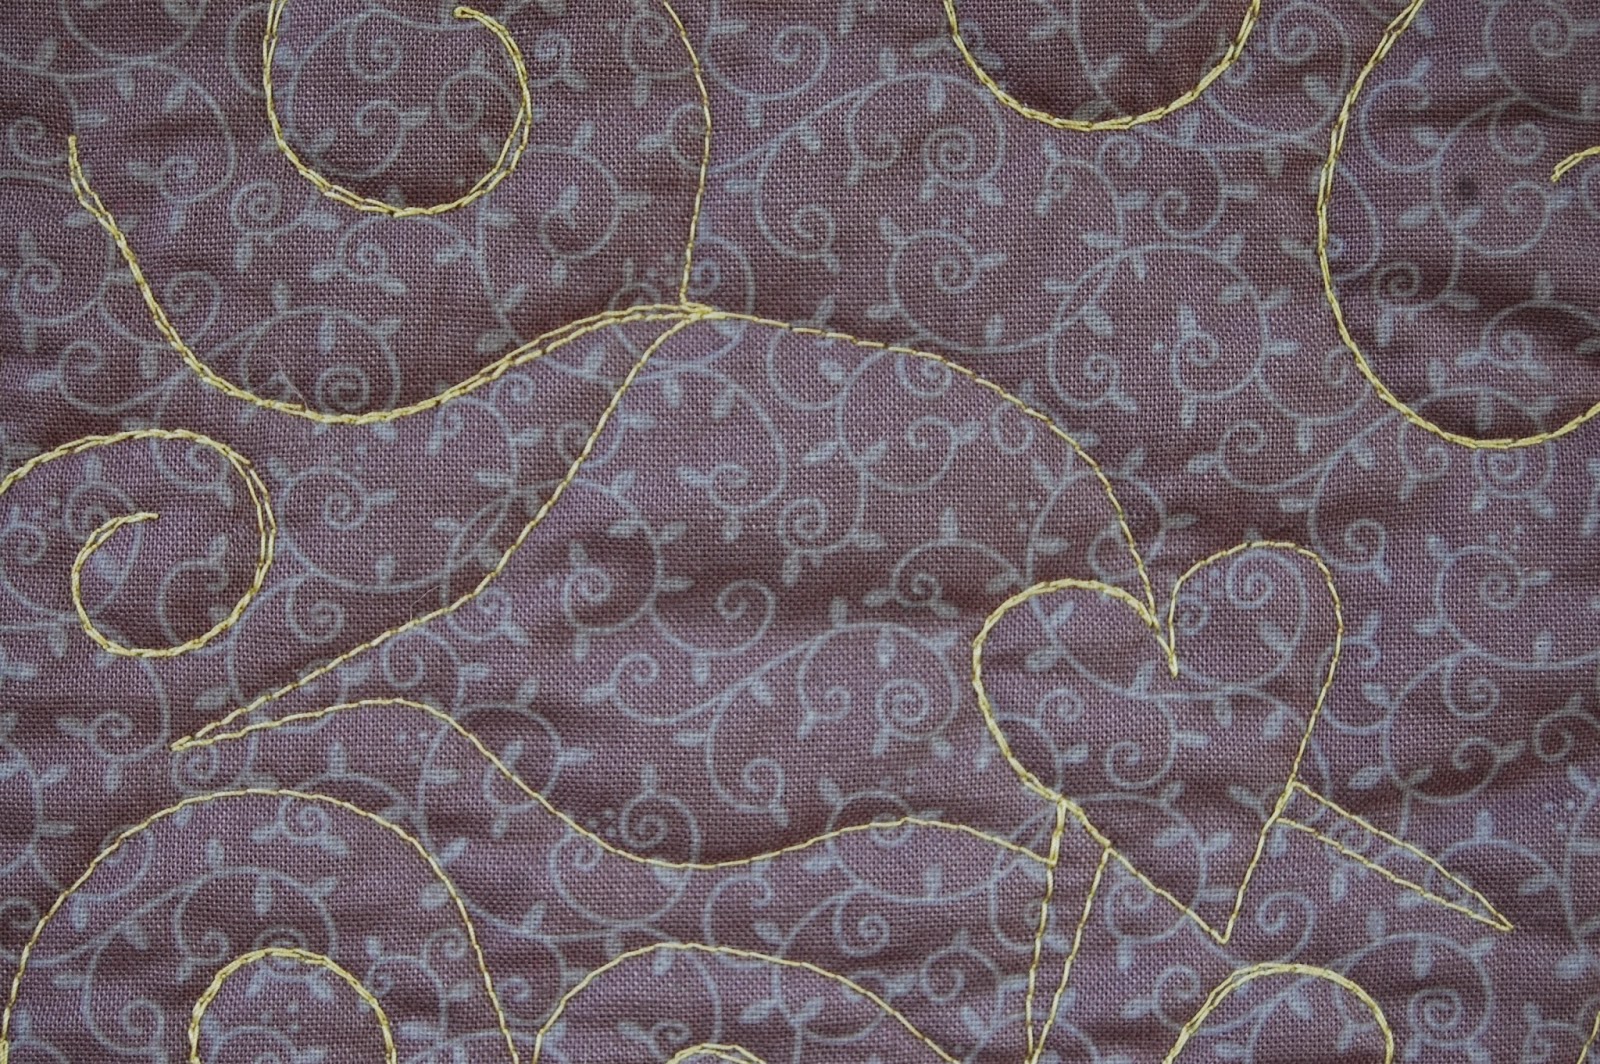
I also used Superior's King Tut 40 wt. cotton thread in Lemongrass, a neutral thread that blended well with all the fabrics, including the red fabric which was used to back the quilt.


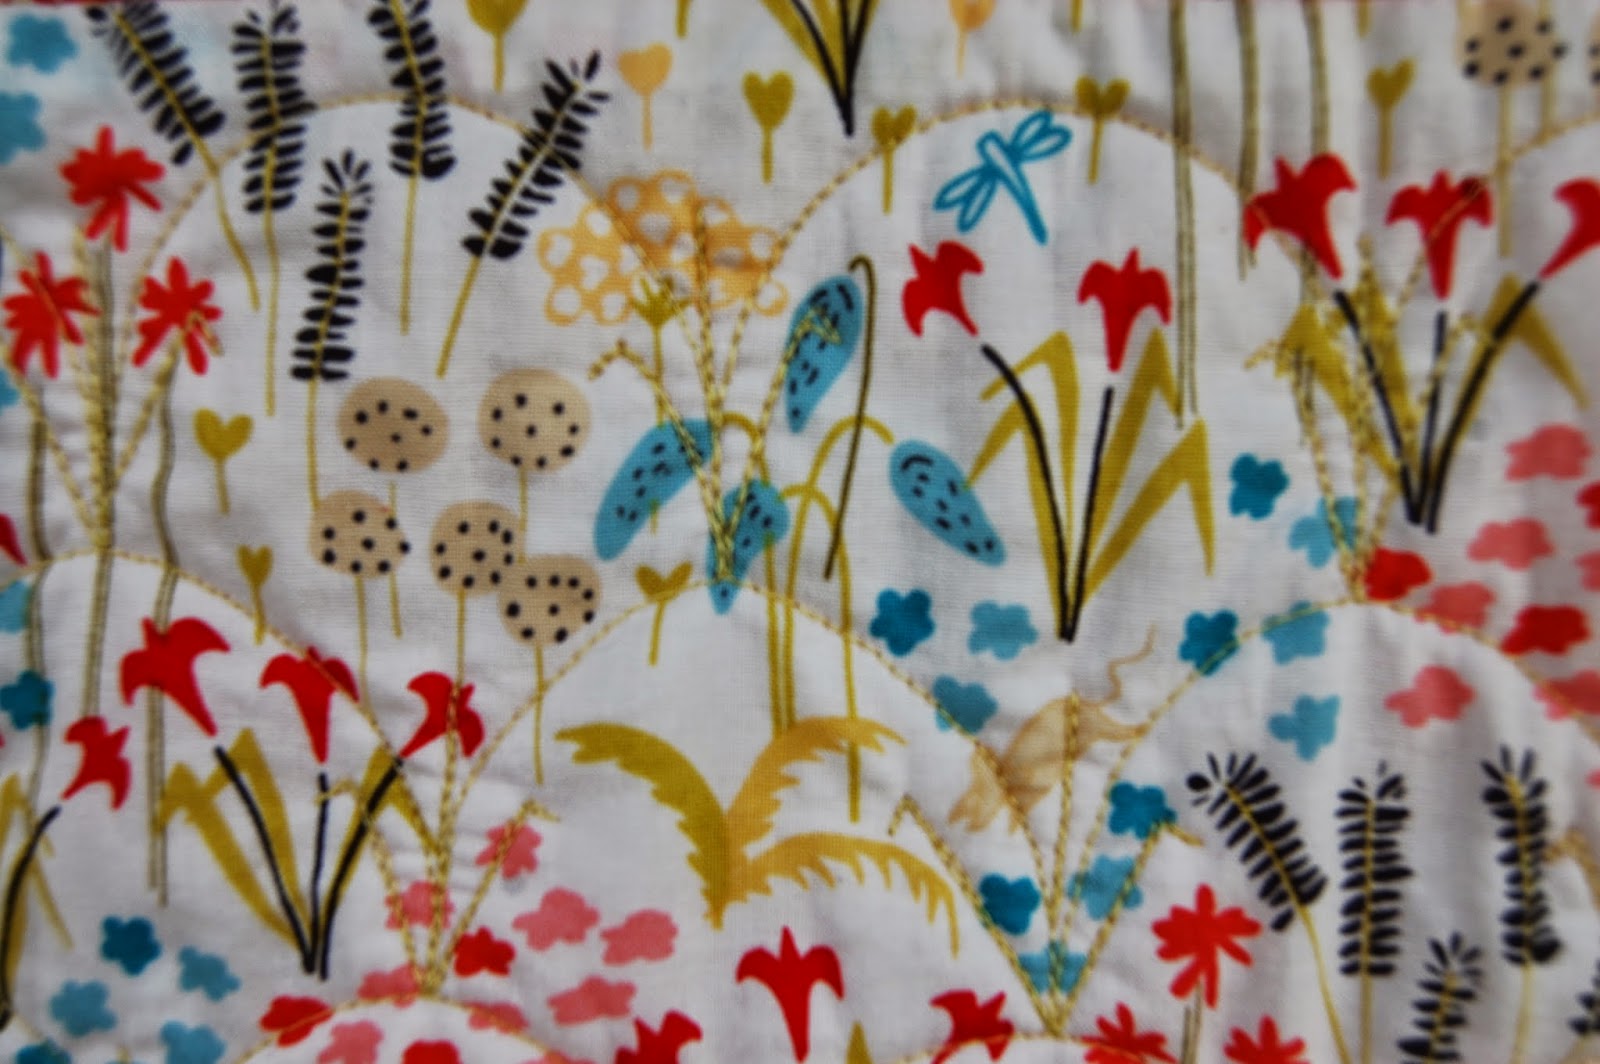
The center panel by Cloud 9 Fabric features whimsical wheat, flowers, and critters. Since it's such a busy pattern, I chose a simple clamshell design and incorporated a spray of wheat between each of them.


The red sections were quilted with a feathered stencil that nicely filled the area.


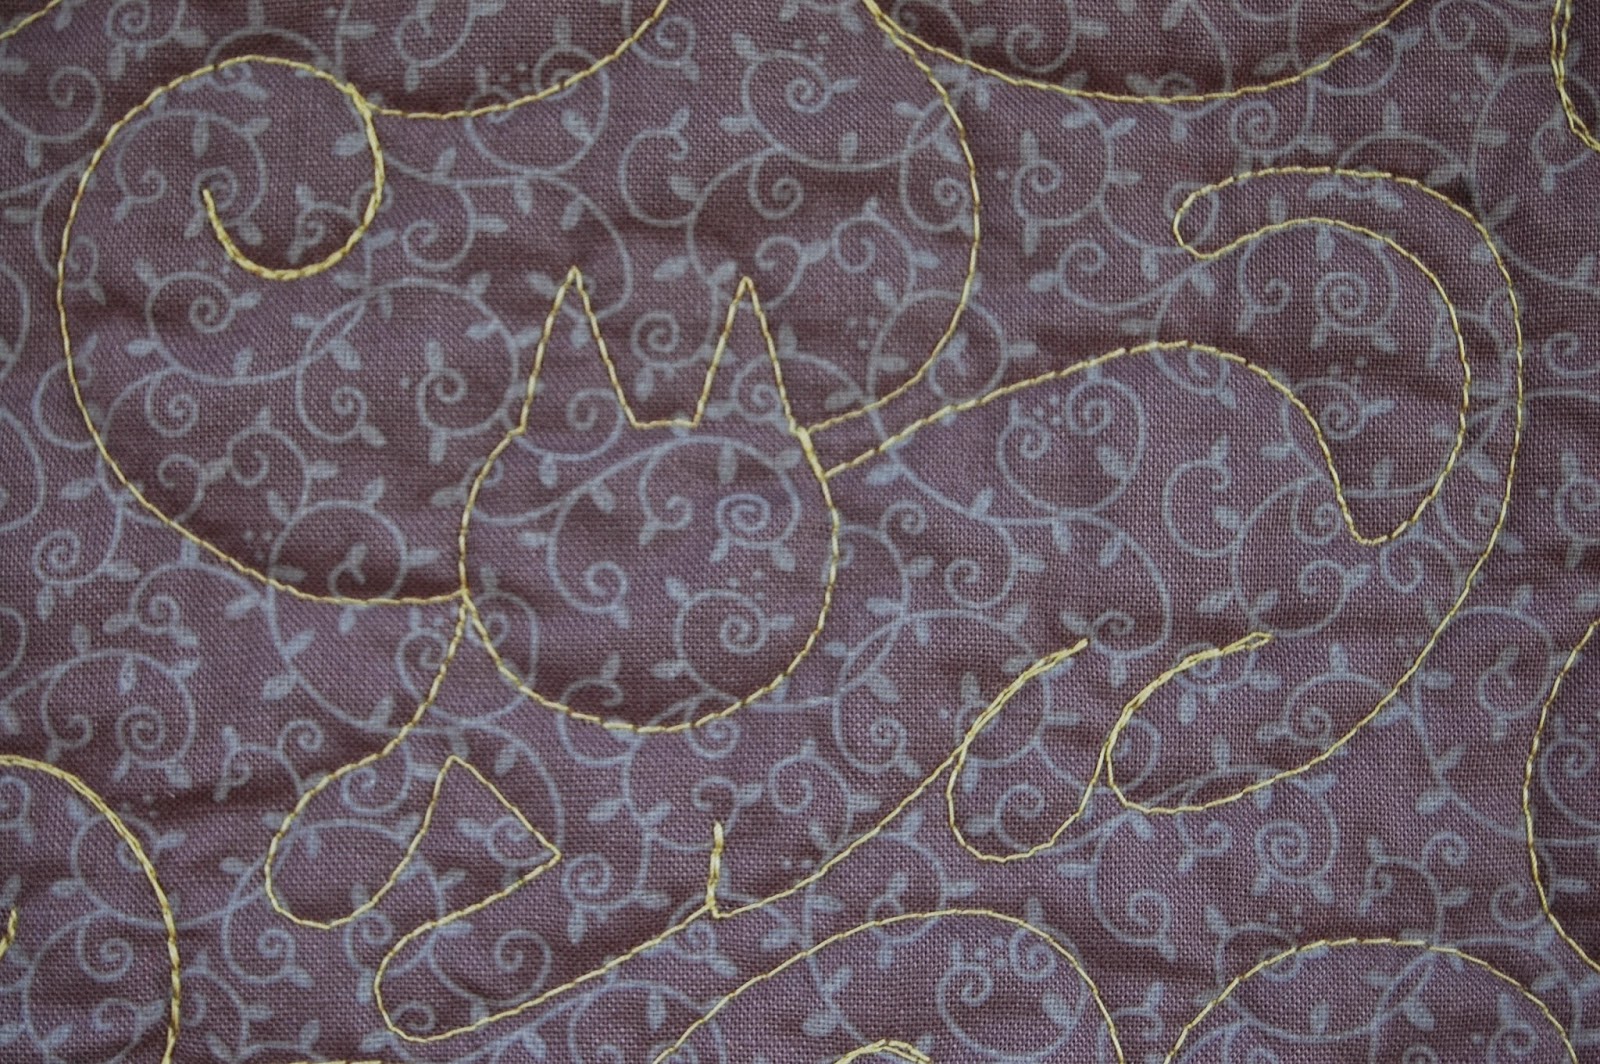
The gray fabric reads as a solid even though it has a swirly design that recedes into the background. It was a good choice to show off some quilting and incorporate the creatures in the center panel. I looked at the fabric and searched online for sketches of a cat, mouse, and bird.

After some really lame attempts to draw them...


I just went for it and stitched them out. Time and again I realize that my quilting is better than my artwork! Be brave and soldier on...


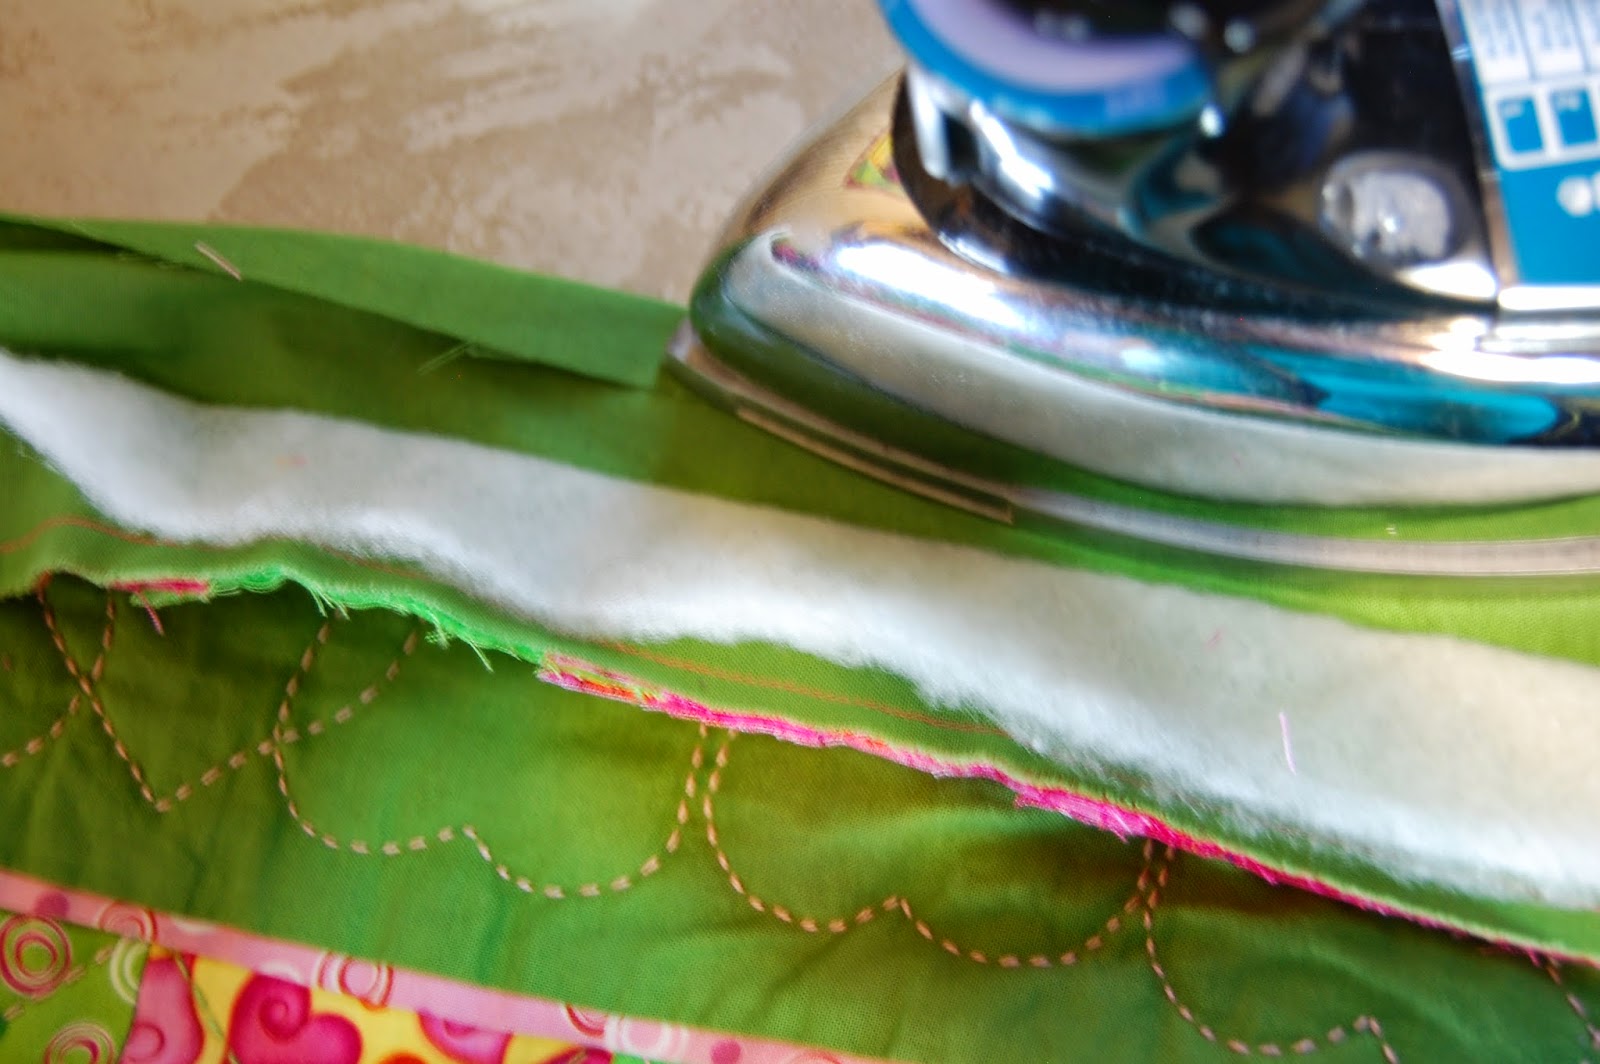
Renee plans to sew on a 2" satin blanket binding so I quilted to within 1.5 inches of the edges. Overall, I was really happy with the way this quilt turned out!


Copyright ©2014, Sharon Baggs


Monday, July 28, 2014

Prairie Points on Jazzy Trip Quilt


My daughter, Becca, made this quilt many, many years ago. It's a Trip Around the World design she named "Jazzy Trip" and she hand quilted it with pink and green pearl cotton.


She always wanted to finish it off with a prairie point binding. This type of inserted edge binding, secured between the top and the backing, would definitely add an interesting visual dimension. I procrastinated on it because I didn't really know how to make prairie points. Cluelessness kept this quilt in the unfinished pile for awhile.

So finally I devoted an entire Saturday poring over books and instructions on the internet to figure out the "how to" on making prairie points. Typically prairie points are added before layering and quilting the quilt but it's possible to do it after. Here's how: I began by pulling the backing out of the way and trimming the top and batting even. Then with the backing smoothed behind the top/batting, I trimmed a 1/2" edge allowance.


Looking through my collection of pinks and greens, I found fabrics originally used in the quilt. I added some additional fabrics that blended in with the originals ones used so there would be enough points to cover the edges. I cut 3-1/2" squares, pressed them diagonally in half and in half again. This creates a folded side and an open side. In the corner here, two points are placed folded sides together with the open sides out. This allows the next point to be inserted about 1/4" inside the corner point. 

Continue placing the points along the edge, pinning in place and making adjustments so they all fit along the edge. Keep the backing fabric out of the way and machine sew a 1/4" seam which includes 3 layers: the prairie point, top fabric and batting. Once the points are sewn along the entire perimeter of the quilt, fold the backing fabric so it is even with the top and press into place. Flip the prairie points up so they are pointing away from the quilt top and toward the edge. Bring the backing fabric even with the seam line and pin in place. If the fabric puckers on the back, remove the pins, refold the backing and press until it is flat and even with the edge. Pin in place, thread a hand sewing needle and you're now ready to hand sew the backing fabric to the seam line.

 
Use a diagonal slip stitch to sew the backing fabric to the seam line, the same stitch used when sewing double fold binding in place.


When you are finished hand sewing, the prairie points will be secure between the folded backing fabric and the sewn front edge. This turned out beautifully and adds great interest to the quilt!


Copyright ©2014, Sharon Baggs

Saturday, July 26, 2014

Sisters Quilt Show 2014


Two weeks ago, we day-tripped to Sisters, Oregon for the annual outdoor quilt show, always the second Saturday in July. Luckily it was the day before the World Cup final match or Martin would have been staying home to watch that! We realized it was our first day out together since our kids all returned home for the summer, so it was a much-needed, fun date.

Once again, we thoroughly enjoyed the featured exhibit of the ladies from Santa Barbara who returned to Sisters for their third straight year. I remembered from last year the work of these four women--Debra Blake, Patty Six, Lou Ann Smith, and Maren Johnston--and was immediately drawn back in. Everything from their style of abstract design work with hand dyed fabrics to their quilting lines reflecting an organic modern style, it's all so aesthetically pleasing. The postcard they handed me last year has been on my design wall and gave me inspiration as I quilted Diana's Red Square quilt. From their current exhibit, they springboard into designing a new collection the following year. Stunning!


Copyright ©2014, Sharon Baggs